

Sonic Extensions are downloadable products available to registered Omnisphere 2 users through the Sonic Extensions Shop. Once you’ve purchased your Sonic Extension(s), follow these instructions for installation on Windows. The size requirements for each Extension varies from 4GB to 10GB, so make certain you have adequate space on your drive.
Sonic Extension Download
1. Once you’ve purchased your Sonic Extension(s), you’ll receive an email with a link containing the Spectrasonics Download Manager.
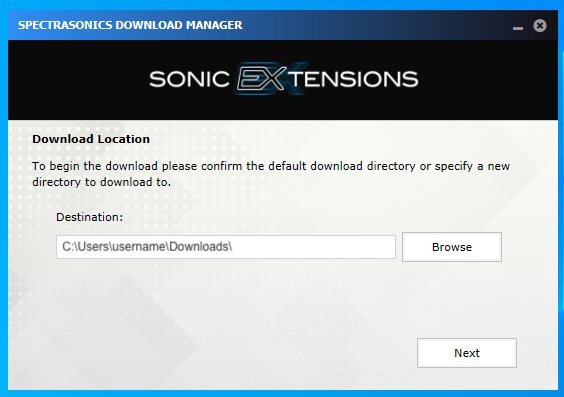
2. Start up the Download Manager application and select the location for the installer files.
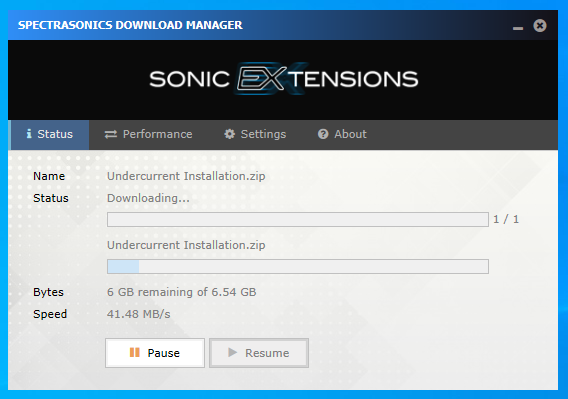
3. The progress of the download will be tracked in the Download Manager.
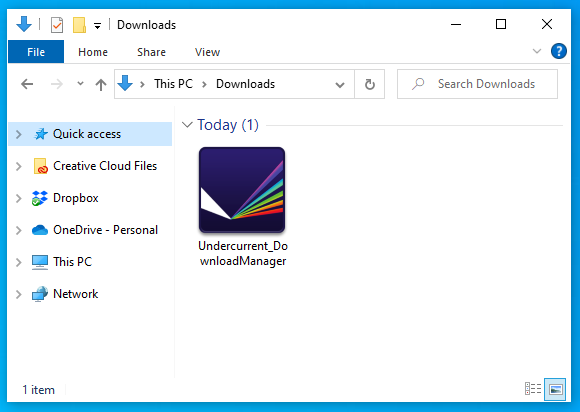
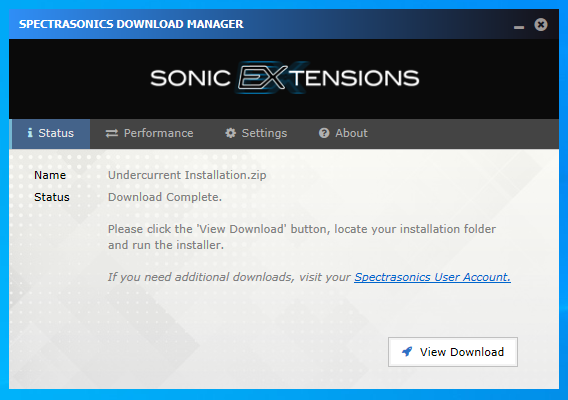
4. When the download is complete, you’ll be able to view the downloaded file and start the installation.
NOTE: These screen shots are taken in Windows 10, using the Undercurrent installer, but the experience will be the same for any Sonic Extension.
Sonic Extension Installation
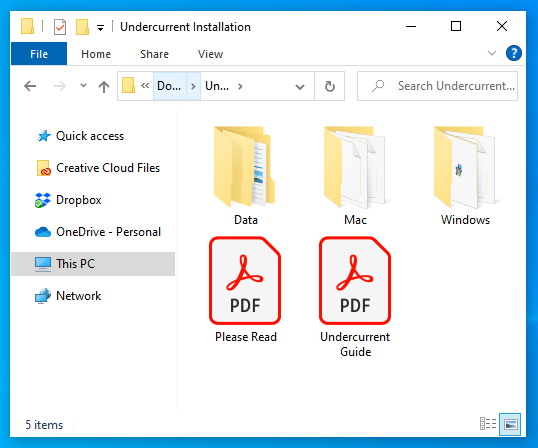
1. Open the Installation folder for each Sonic Extension you’ve purchased. In the following, we’ll be installing Undercurrent.
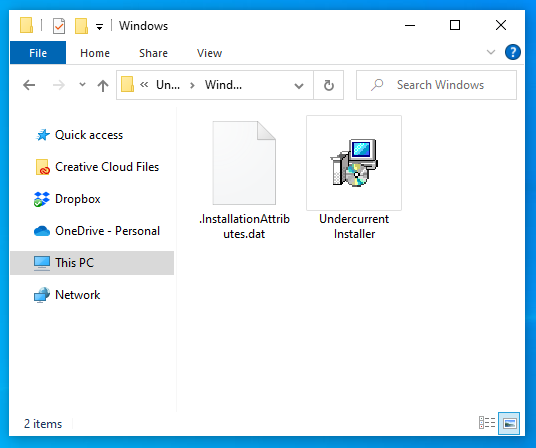
2. Open the Windows folder, then double-click Undercurrent Installer.exe to begin the installation.
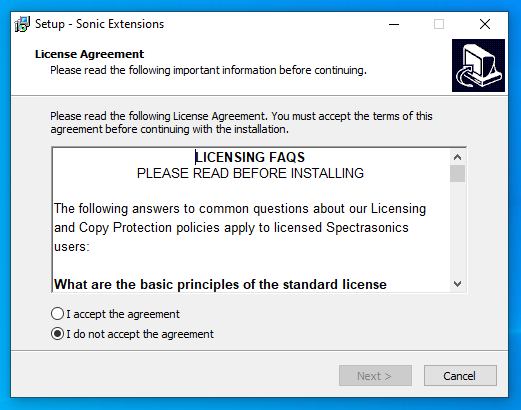
3. After accepting the license agreement, you’ll be guided through the installation steps.
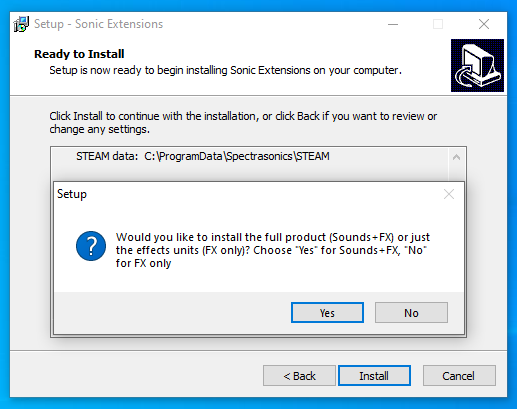
4. At the Ready To install step, you’ll choose whether to install the full Sonic Extension library and FX units (Sounds+FX) – or just the FX units (FX Only).
5. The Sonic Extension data files will now be copied to your selected drive. Allow 15-30 minutes for Sounds+FX (FX Only will take very little time). After the installation is complete, select Close. Now it’s time to open Omnisphere 2 in your host and authorize it for your Sonic Extension(s).

Please consult the Authorizationsection here for assistance with authorizing Omnisphere.