

This is a guide for installing with a USB on a Mac. These simple steps are applicable to Omnisphere, Keyscape, Trilian, and Stylus RMX.
NOTE: Please check THIS ARTICLE for current macOS compatibility.
1. Before installing with the USB drive, create or login to your Spectrasonics user account and register the serial number in your User Guide to your account.
2. Once registered, connect the Omnisphere installation drive into a USB port. If you don't see it on your Desktop, flip the USB card over and try re-inserting it to ensure it's right-side up.
3. Double-click on the “Spectrasonics Omnisphere” drive icon, then double-click on the file “Omnisphere 2 Installation.url.”
4. The link will bring you to the Spectrasonics login page. Log in to your Spectrasonics User Account and select the DOWNLOAD button to download the current installers to your Mac.

5. From your Mac’s Downloads folder, open the “Omnisphere_2_Installation” folder, then open the “Step 1 – Installer” folder. Double-click to open the “Mac” folder inside of “Step 1 – Installer.” then double-click “Omnisphere 2 Installer.pkg” to begin the installation.
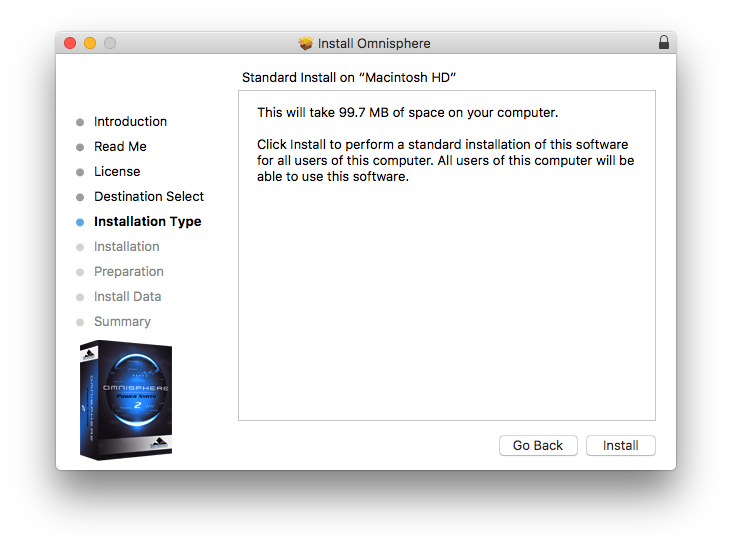
6. Once you've opened the installer, you will see the steps on the left. Please note that the Preparation step is where you will get to decide the destination for the STEAM folder, which contains the large library data files.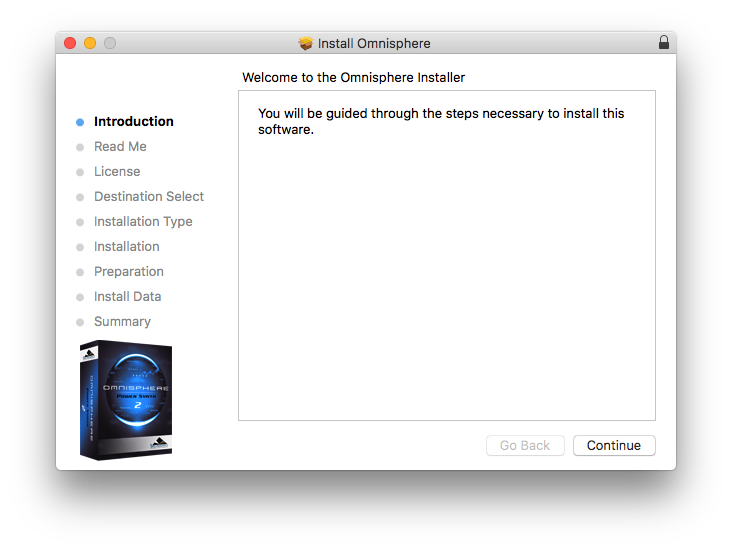 7. The Destination Select and Installation type will install the Software (the smaller plugin files and standalone application), and that will be installed on your main computer drive.
 8. During Preparation, you will be given an option to choose a destination for the large library (the STEAM or SAGE folder). Unless you would prefer the library be installed on an external drive, we recommend installing the library in the default location by just clicking continue. The default location is:
Macintosh HD/ Users/ / Library/ Application Support/ Spectrasonics
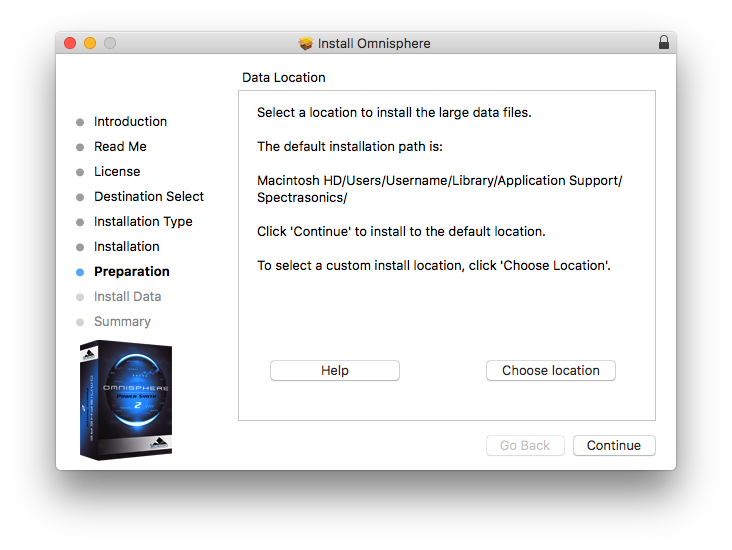 If you do not see the Choose Location option, this means that there is already a STEAM folder or STEAM alias in the default location that is preventing the installer from choosing a different location. There would be a STEAM folder here if you have other Spectrasonics Instruments (Omnisphere, Keyscape, and Trilian need to be in the same STEAM folder), or from a previously attempted installation. If you need to pick a different location to install, please check out this article for instructions.
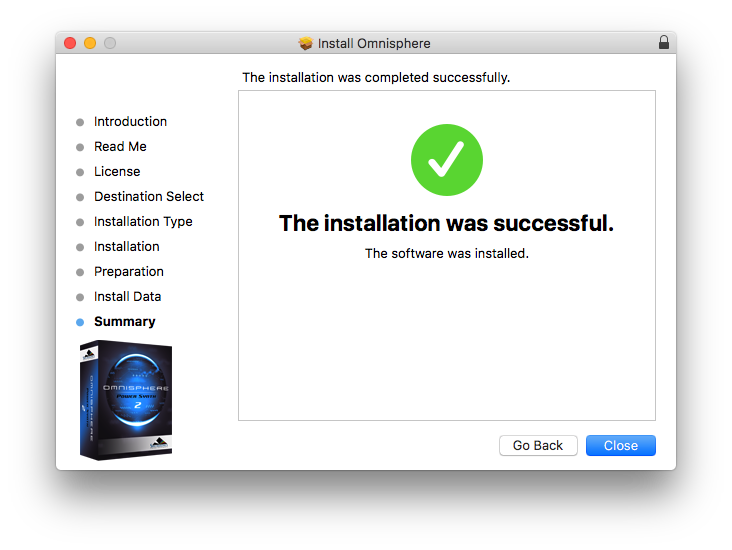 9. When the installation completes, select Close and go back to your Downloads folder. From the Omnisphere_2_Installation folder, open the “Step 2 – Data Updater” folder and then open the “Mac” folder. Next, double-click on the "Omnisphere_Data_Updater.pkg" that is inside the "Mac" folder.
Follow the default steps of the data updater (it should locate your STEAM folder during Preparation).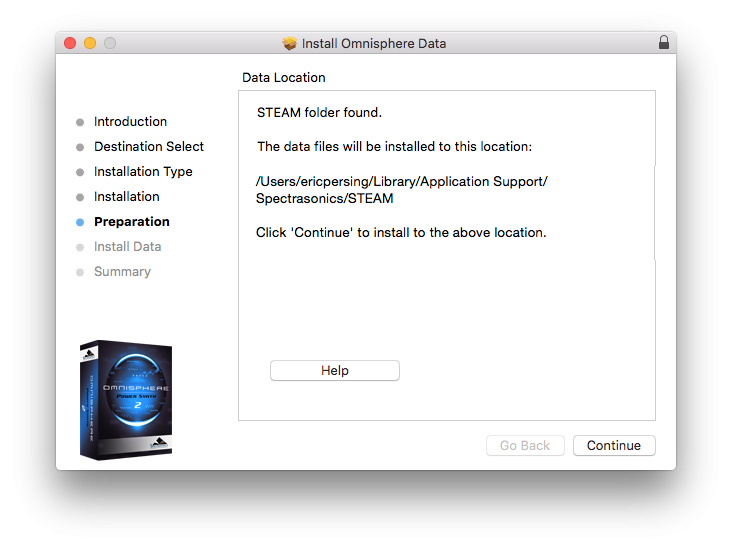 When the update has been installed, select “Close.”
 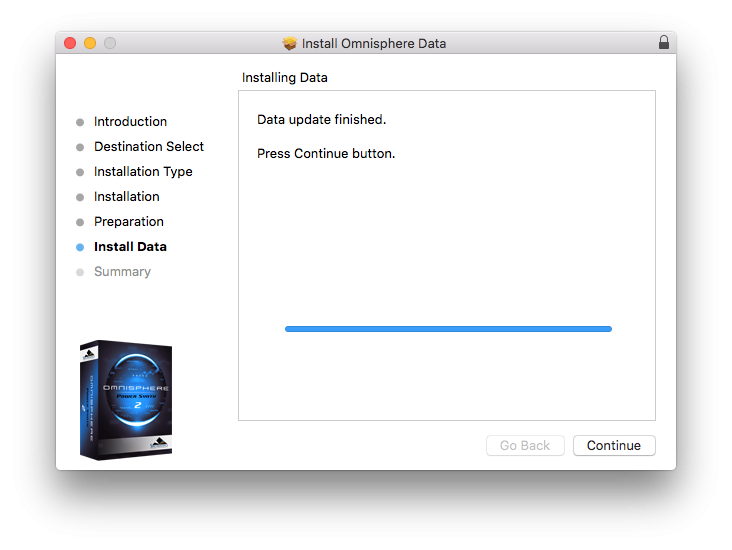 When the installation completes, go ahead and close the installer. We recommend restarting your computer as this is a good habit when installing software on Macs.
Once the computer has been restarted, open the standalone application. If it asks you to authorize, you can check our instructions in THIS ARTICLE. After you authorize, or if your instrument is not asking for authorization, click anywhere on the instrument startup screen and you should be all set to make music!
If you encounter any issues or have any questions, please reach out to info@spectrasonics.net and we'll be happy to assist you.